
Course The Lantern - getting started (#1)
Welcome to The Lantern course! The Lantern is the accounting portal through which your organisation supplies documents to us at de kleine prins and follows up on the processed accounts. In this first part you get to know the programme: what it does, who does what, how to log in and where to find everything. After that you are ready to start with the mailboxes in course part 2.
The Lantern is a programme by Clearfacts ↗.
Part 1: what is The Lantern, and who does what?
The Lantern is the digital letterbox between your organisation and us at de kleine prins. Everything the accounts need — purchase invoices, sales invoices, receipts, contracts — comes in through one of the three mailboxes. The division of roles is simple:
- You supply and review. You deliver your documents through The Lantern (uploading, emailing, the mobile app or automatically via Peppol) and afterwards follow up on your payments, your archive and your figures.
- You provide the information that goes with the documents. You know what an invoice is about: which activity, which project, which arrangement. You pass that knowledge on with a comment or a label (course part 5), or — if your file works that way — by preparing the entry yourself in the work list (course part 6).
- We post the entries. We process the supplied documents in the accounts. The result flows back into The Lantern automatically: you find your processed documents, your bank transactions and your reports there.
So nothing needs to be dropped off on paper any more, and you can see where your accounts stand at any moment. Some files have additional arrangements — for instance when you prepare documents yourself, or when invoices have to be approved first. Those options are covered later in this course.
Part 2: logging in
You work with The Lantern simply in your browser, at my.dkpa.be ↗. When your file is set up, you receive an invitation from us by email: with it you activate your user and choose a password.
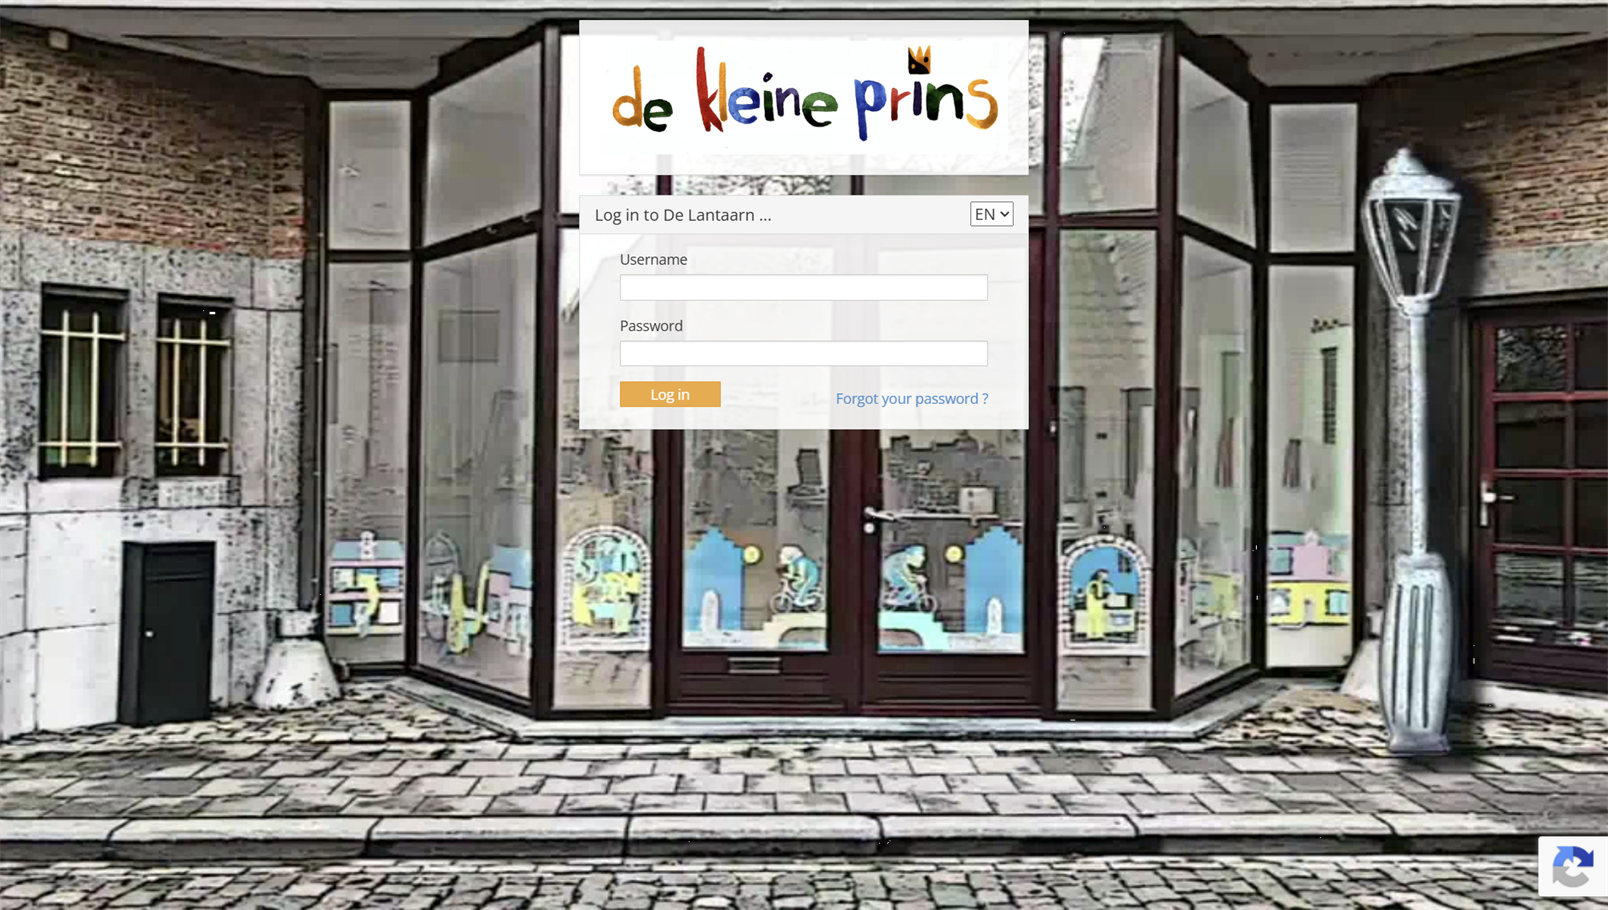
- The login screen.
Two recommendations for secure access:
- Choose a strong, unique password. You can change it at any time — how, you can read in the article at the bottom of this part.
- Switch on two-factor authentication (2FA). You then confirm each login with a code on your smartphone. Your accounting portal contains payment details and financial information; that extra step is well worth it.
Tip: do several people in your organisation work with The Lantern (say, the treasurer plus a board member who approves)? Give everyone their own user instead of sharing one login. That way it stays clear afterwards who did what. You can request an additional user through the settings (see course part 15).
Part 3: a tour of the screen
After logging in you land on the dashboard: an overview page with the key figures of your file. At the top sits the menu with the main sections (Reports, Archive, Payments, Financial, History); on the left you find the mailboxes and the date up to which your accounts have been updated.
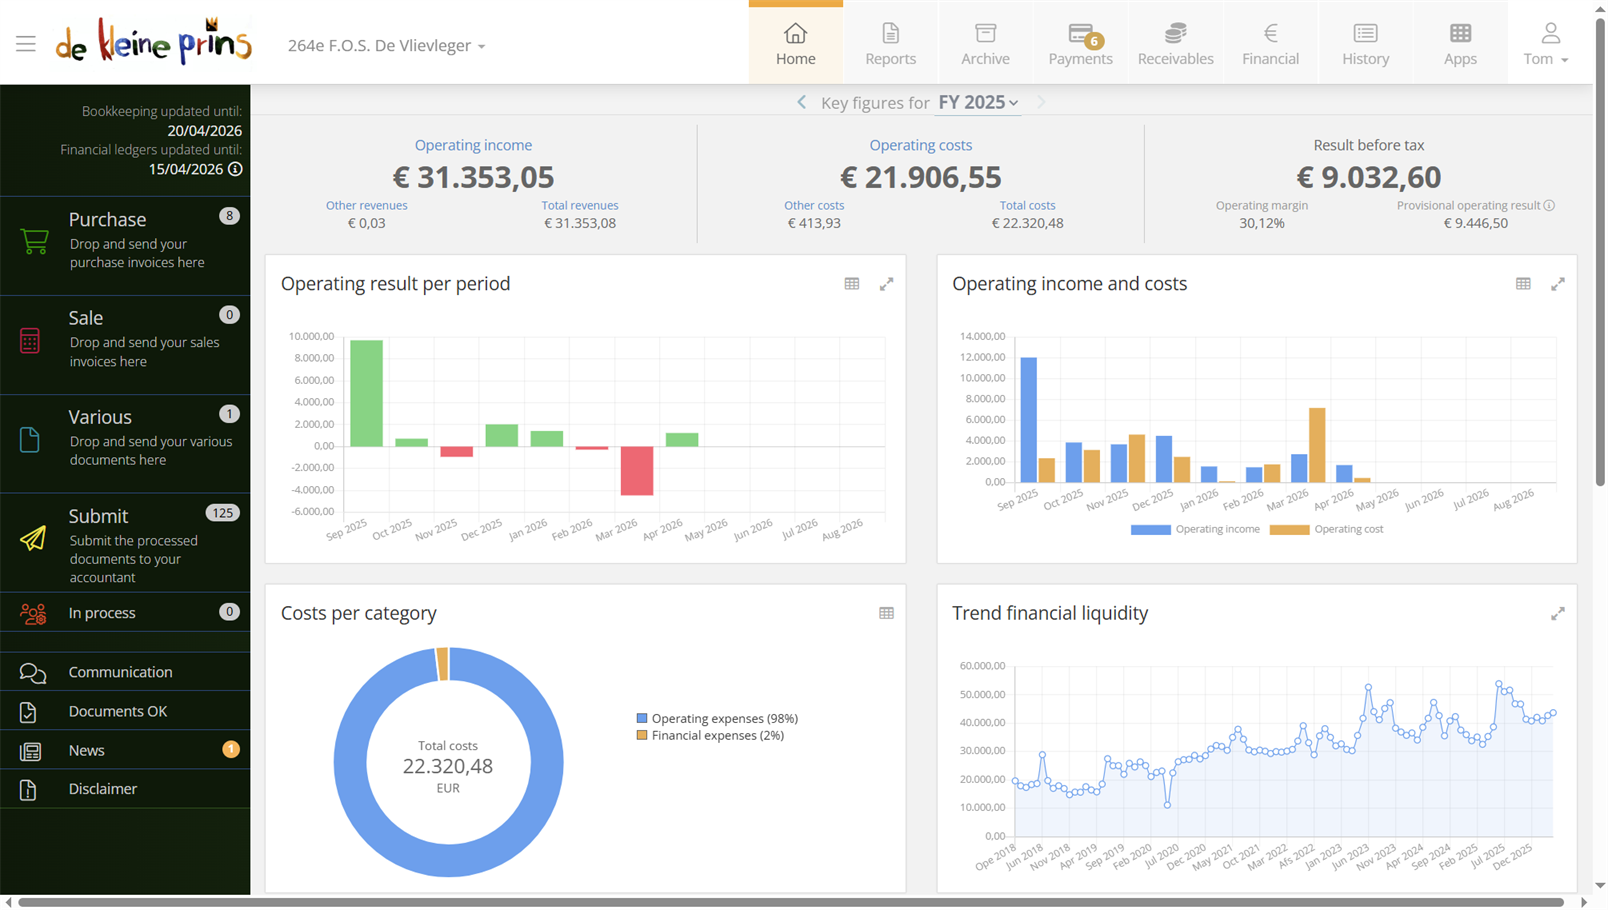
- The dashboard with the menu.
The sections you will get to know in this course:
- The three mailboxes — Purchase, Sale and Various: this is where your documents arrive and leave for the accounts (course part 2 to course part 5).
- Payments — the invoice list and the payment basket, for following up and paying outstanding invoices (course part 7 and course part 8).
- Archive — all documents that have been processed in the accounts (course part 9).
- Financial and History — your bank transactions and the position per supplier, customer and general ledger account (course part 10).
- Reports — ready-made overviews for your board (course part 11).
- Settings — your file’s settings, including the unique email addresses of your mailboxes; you find them in the menu under your name, top right (course part 15).
Do you also see the Submit folder in your file? Then your organisation prepares entries itself in the work list — like many of our clients, especially those who want to follow up analytically per activity or project. That work is covered in course part 6. If the folder is missing, we do that for you and you need not worry about it.
There is also a mobile app for The Lantern, with which you photograph and submit receipts and invoices on the go. We explore it in course part 4.
Part 4: how best to use this course
The course consists of fifteen parts in three blocks:
- Basics (course parts 1-5): getting started, the three mailboxes, and the ways to supply documents and send them on to the accounts. This block is for every user: work through these five parts and you can supply documents correctly.
- Processing yourself (course part 6, optional): the work list — for organisations that prepare the entries themselves, and the place where you steer analytical accounting. It comes early because for many of our clients it is the usual way of working; if your file does not work this way, skip it.
- Following up (course parts 7-11): paying invoices, consulting the archive, checking your figures and requesting reports. You use this block once the accounts start running.
- Extras (course parts 12-15): the parts with “optional” in the title — splitting and merging documents, approval flows and the file settings. Read them when the question arises or when they apply to your file.
So there is no need to read the course in one go: the basics are enough to get started, and the rest is ready when you need it. At the bottom of each part you will also find a block of articles from the supplier’s manual, for those who want to dig deeper.
Part 5: need help?
If you get stuck, three routes are open:
- Your account manager at de kleine prins is your first point of contact, certainly for questions about your specific file (“which mailbox does this go in?”, “why is this invoice still open?”).
- The webinars on this academy: recorded sessions (in Dutch, with English subtitles) exist on submitting and preparing documents, payments and approvals, to watch at your own pace.
- The supplier’s manual, through the sources at the bottom of each course part (the articles are in Dutch).
Next step: in course part 2 you get to know the three mailboxes — and above all: which document belongs in which box.
The screenshots show a real file in The Lantern, in the English interface; a few images (the mobile app and the upload flow) still show the Dutch one — the layout is identical. Personal details have been redacted.