
Course The Lantern - reports for your board (#11)
A board meeting, a general assembly, a subsidy justification: each time you need figures you can pass on as they are — readable, complete and up to date. The Lantern’s reports turn the processed accounts into ready-made overviews, without you having to calculate anything or wait for us. In this part you get to know the seven reports, when to use which one — and where you can do even better for board reporting: The Binoculars.
Part 1: where do you find the reports?
Open Reports in the top menu. On the left you pick a report; then you choose the financial year or period and the format, and click Generate - the report is always built — always based on the accounts as processed at that moment. Do keep that in mind: figures are as current as the last processed documents and bank statements (course part 10 shows you the date of the last processing).
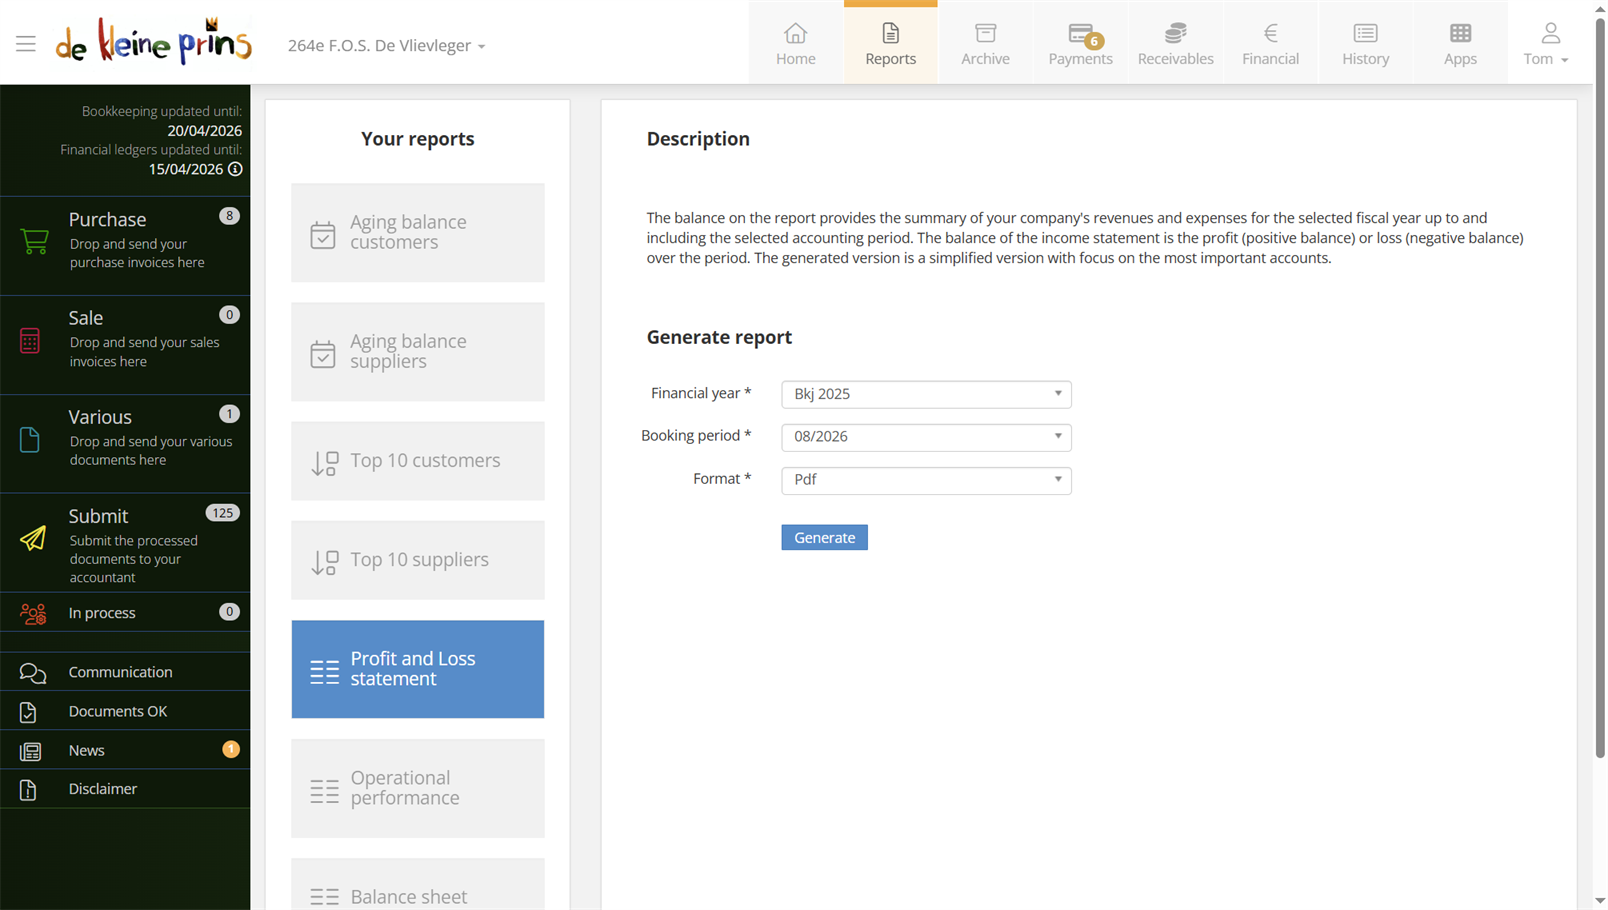
- The list of the seven reports, on the left.
- Generating a report: pick the financial year or period and the format, and click Generate.
Part 2: the seven reports
- Aging balance customers — who still owes you, ordered by age of the receivable. The figures version of “which members or subsidy providers are still open?” (see also the customers’ history, course part 10).
- Aging balance suppliers — whom you still owe, and how urgently. The perfect preparation for your payment moment (course part 8).
- Top 10 customers — your biggest sources of income in the chosen financial year. Often surprisingly instructive for a non-profit: how dependent are we on one subsidy provider or one big customer?
- Top 10 suppliers — your biggest cost items of the chosen financial year. The first place to look when the board wants to cut costs.
- Profit and Loss statement — income and expenses following the model of the annual accounts. THE basis for any substantive discussion of the figures.
- Operational performance — a more detailed profit and loss statement, for those who want to dig one level deeper than the main headings.
- Balance sheet — the position of assets and liabilities: what the organisation owns, and what it still owes.
For board members without an accounting background this mnemonic helps: the profit and loss statement is the film of the year (what came in, what went out), the balance sheet is the photo at one moment (what do we own, what do we still owe). Read both and you know the health of the organisation — more explanation is in our training on reading the balance sheet and profit and loss statement (in Dutch).
Part 3: one level better still: The Binoculars
The reports in The Lantern are ready-made PDFs — fine for passing on. But if you really want to explore your figures, consult them in The Binoculars, our reporting platform. The difference:
- Click through to the document. From a total figure you click through to the details and the underlying documents — the question “where does that amount come from?” answers itself on the spot, in the middle of the meeting.
- Analytical down to the detail. If your organisation keeps analytical accounts (course part 6), The Binoculars shows the figures per activity, project or department — exactly the level a board wants to steer on.
- Always the current position, with comparisons and your budget alongside.
For reporting to a board this is therefore the superior option: not a static attachment, but figures you can walk through together. How it works you learn in The Binoculars course; if your organisation does not have access yet, ask your account manager.
Tip: pass important deadlines — a board meeting, a general assembly, a subsidy deadline — on to your account manager in advance. We then make sure the accounts are in perfect shape by that date, so your reports show the most current position. And if the occasion calls for formal figures, we can also provide official reports straight from our accounting package.
Part 4: beyond this block
That completes the “following up” block: you can pay (course parts 7 and 8), find back (course part 9), check (course part 10) and report. The next parts (12 to 15) are the extras, recognisable by “optional” in the title: read them when they apply to your file or when the question arises — none of them is needed to work correctly with The Lantern.
Next step: do you scan stacks of documents in one go? Course part 12 teaches you to split them smoothly.
The screenshots show a real file in The Lantern, in the English interface; a few images (the mobile app and the upload flow) still show the Dutch one — the layout is identical. Personal details have been redacted.