
Course The Lantern - submitting with the mobile app (#4)
A parking ticket, a till receipt from the DIY store, an invoice handed to you at an event: with The Lantern’s mobile app you photograph such a document on the spot and seconds later it sits in the right mailbox. No more crumpled receipts in a coat pocket or shoebox. In this part you install the app and submit your first document with it.
Part 1: why the app?
The app is made for documents you receive on paper while out and about. The big advantage is speed: you photograph the receipt there and then, and the original can go afterwards (why that is allowed, you read in course part 5). For documents you receive digitally, emailing and uploading from course part 3 remain the handiest routes.
Part 2: installing and signing in
You will find the app De Lantaarn in the Apple App Store ↗ and the Google Play Store ↗. After installing, you sign in with the same user as on the computer — and if you have two-factor authentication switched on (course part 1), you confirm with your code here too.
Part 3: adding a document
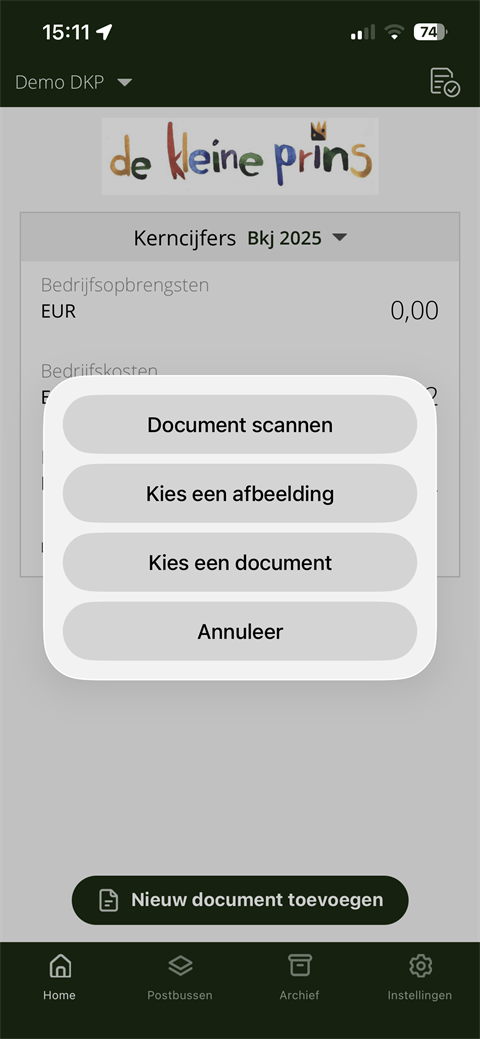
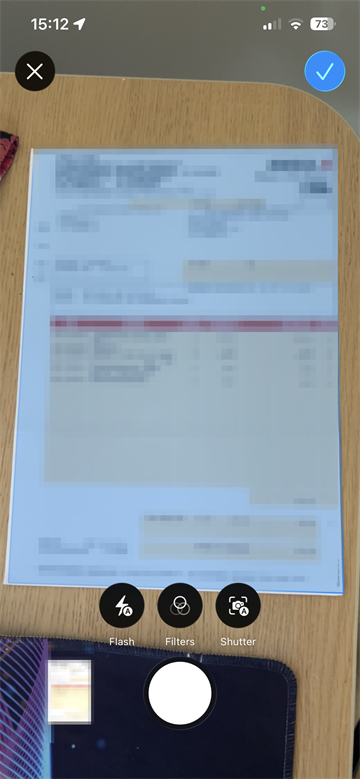
You start on the home screen with your key figures and tap Add new document there. Next you choose how to supply the document: Scan document to photograph it straight away, Choose an image to take a photo from your camera roll, or Choose a document to use a saved PDF. If you take the photo yourself, you can still crop it before moving on.
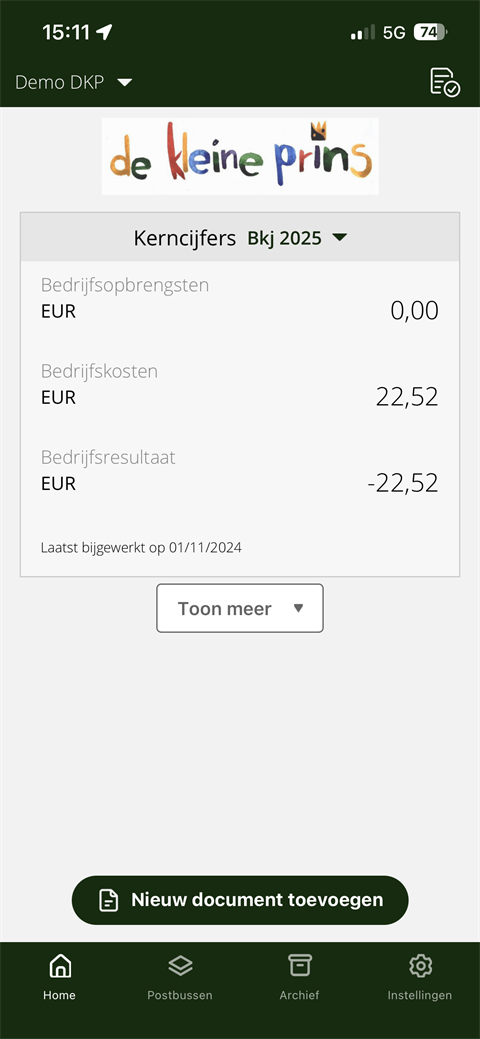
- The home screen with the Add new document button.
- The choice between Scan document, Choose an image and Choose a document.
- Scanning, with the option to crop.
Tip: photograph in good light and straight from above. The text recognition reads a sharp, flat photo almost flawlessly; a skewed photo with shadows means more corrections afterwards.
Part 4: choosing the type and checking the details
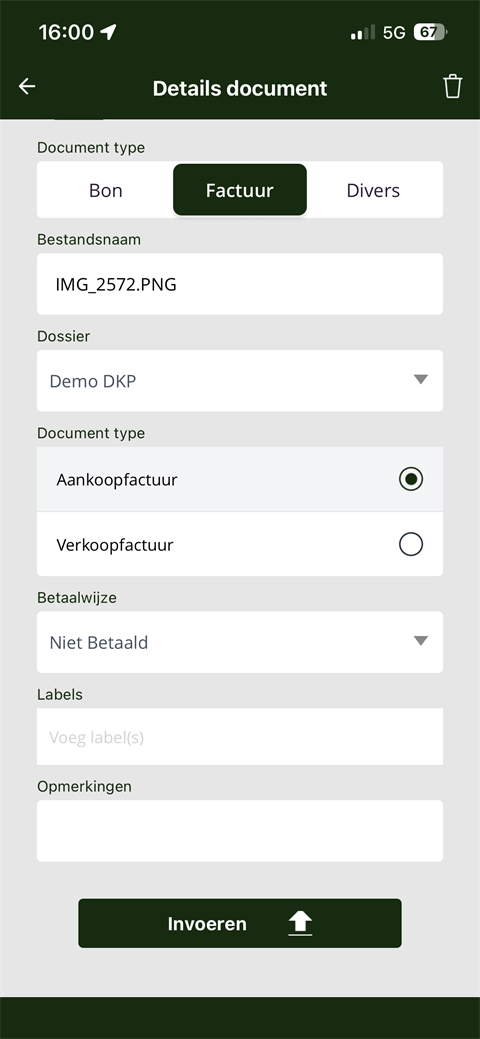
You then indicate what kind of document it is: Receipt, Invoice or Various. For an invoice you also state whether it is a purchase or a sales invoice — that way the document lands straight in the right mailbox (course part 2). The app recognises the details on the document and shows them in fields you can still adjust yourself.
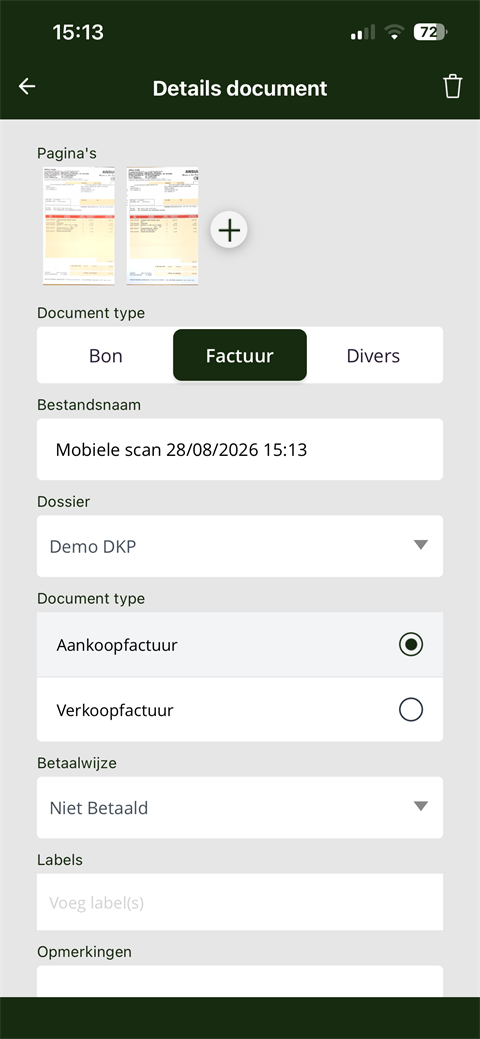
- The recognised details of the document, ready to check and correct where needed.
Do check the amount and the date; the recognition is good, but not infallible. Finally, tap Submit.
- The document has been submitted and is waiting in the mailbox.
Part 5: what happens next?
One important point about expectations: with Submit the document is waiting in the mailbox, but it has not reached us yet. Just as with uploading or emailing, one step remains: sending the document on to the accounts, with the Send button in the mailbox. That can easily wait until later, on the computer — weekly, say, when you also add a comment or label.
So see the app for what it is: a submission channel for on the go. The home screen shows your key figures, and entering documents is lightning fast — but the actual management (sending on, paying, the archive, the reports) is more comfortable in the browser on your computer. What else the app can do is covered in the supplier’s article at the bottom.
A workable rhythm for many organisations: photograph receipts immediately when you get them (so they never go missing), and weekly work through the mailbox on the computer — review, add a comment or label, send. How that sending works, and what we then do with your documents, you discover in the next part.
Next step: in course part 5 you complete the submission flow: adding a comment and label, sending to the accounts, and what happens after that.
The screenshots show a real file in The Lantern, in the English interface; a few images (the mobile app and the upload flow) still show the Dutch one — the layout is identical. Personal details have been redacted.