
Course The Rose - house style and layout (#14, optional)
Your invoice is often the last thing a client, a member or a funder sees of your non-profit. So make it look tidy, and above all make sure all the fixed mentions are on it. With the layout editor you set logo, colours and fixed texts right once; every document The Rose creates after that follows your house style. For our clients we prepared a basic layout at the start; this part shows how you refine it.
Part 1: opening the layout editor
Click the name of your organisation at the top right and choose Layouts (a separate item of the account menu, next to Settings). You see your layouts under Active and Archived; one of them is marked Default layout for invoices. With Create you start a new one, with Actions on an existing layout you open the editor:
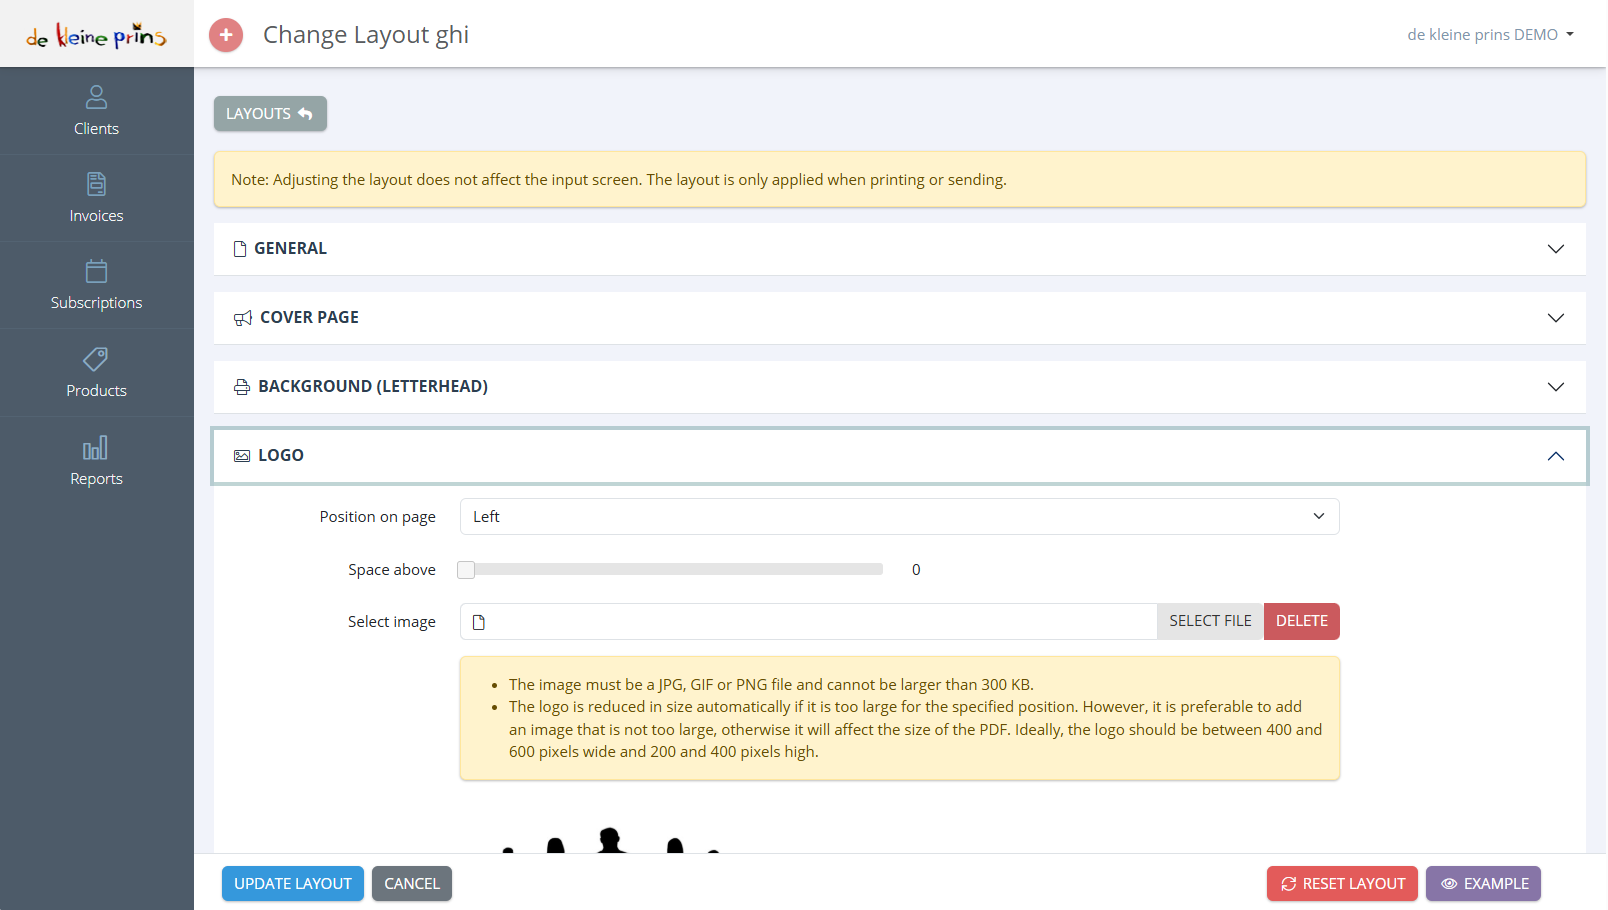
- The title Change Layout ghi: the name of the layout (in our demo file it is called “ghi”). Give your layouts a recognisable name, e.g. “Standard non-profit” or “Project Summer Camp”.
- The note: “Adjusting the layout does not affect the input screen. The layout is only applied when printing or sending.” So you only see the effect in the example and on the PDF, not while filling in an invoice.
- The sections as collapsible panels: General, Cover page, Background (letterhead), Logo and further down the sections for header and footer text, colours, font and the table with lines.
- The Logo section expanded: Position on page (left, centre, right), Space above and Select image. The logo may be a JPG, GIF or PNG of at most 300 KB; ideally 400 to 600 pixels wide and 200 to 400 pixels high. A logo that is too large makes every PDF heavy and is reduced anyway.
- The buttons at the bottom: Update layout (save), Cancel, Reset layout (back to the default, handle with care) and Example (shows a PDF with your current settings).
Work in small steps: adjust one section, look at the Example, save.
Part 2: what must certainly be on it
Go through this checklist with the example next to it. The legal basis is in course part 2 and course part 5.
- Name, legal form (vzw/asbl), registered office and enterprise number of your association, and the mention RPR/RPM with the seat of the enterprise court (art. 2:20 of the Companies and Associations Code). Most come from your settings; RPR you put as a fixed text in the footer.
- Account number (IBAN) and the request to use the structured message, plus possibly the QR code (course part 8).
- The due date and your payment terms in one sentence.
- For an exempt non-profit: the exemption mention (“Exempt from VAT under art. 44 of the Belgian VAT Code” or the small-enterprise scheme), as a fixed text.
- A contact address for questions about the invoice.
- Your general terms and conditions, if you have them (see part 4).
Part 3: a layout per document type or per client
You can have more than one layout:
- Per document type: a sober layout for invoices and credit notes, a more extensive one with an introductory text for quotations, a layout without amounts for delivery notes.
- Per client: e.g. the logo of a project or a campaign for the invoices to the partners of that project, or a layout in the house style of a department. You link the layout on the client (course part 3); the invoice view shows under Layout which one is used.
Keep the number of layouts small. Every change in your fixed details (new account number, new address) has to be made in every layout.
Part 4: general terms and conditions and extra pages
General terms and conditions are useful if your non-profit provides services to organisations (hire, tailor-made training): they govern payment term, cancellation and liability, and they are the condition for being allowed to charge interest or a penalty clause (course part 9). You can have them printed in the layout as a second page or as background text, so they accompany every invoice. How, is in the supplier’s article. Have the text itself checked before you use it; terms that go against consumer law are void.
Part 5: the layout of your emails
Besides the document itself you can also adjust the formatting of the emails The Rose sends: a header with your logo, your colours, a fixed footer. That is done separately, under the email settings, and for those who want it down to the level of custom HTML. For most non-profits the standard formatting with a good text (course part 6) is enough.
Part 6: for advanced users: CSS
Those who find the standard sections too limited can adjust the layout further with CSS, the styling language of web pages. That gives complete freedom, but requires technical knowledge and makes your layout more sensitive to future changes in the program. Only do it if someone in your non-profit is familiar with it, and keep a copy of your code.
Next step: course part 15 if you have clients who expect an invoice in Dutch, French or German, or in a foreign currency.
The screenshots on this page show the English interface of our demo file in The Rose.